Basic Unit Testing with xUnit and C# .Net Core in Visual Studio for Mac
“Do you drive a car?”

Unit Testing Analogy
The Problem At Hand
The need for software features to be developed at pace has become rife, and understandably so - Your stakeholders are driving a business against multiple competitors, and that latest software feature you code might just be the piece that sways a customer in the direction of your product, versus the competition.
…The problem with this, however, is that the assumption becomes:
“once it’s coded, it’s ready to be merged to production.”
…it really isn’t. Especially not if you have zero proof that your code actually works.
Unit Testing: Proving Your Code Works
Unit testing involves separating components of your software into individual “units”, and validating that each “unit” performs and operates as designed. The main goal of unit testing is to isolate each part of the program and show that the individual parts are correctly implemented.
It’s worth noting that unit tests will not catch every possible error within your software, unless the software itself is particularly trivial. Unit testing only measures the functionality of the unit itself, so it will not catch integration errors or performance issues.
What Are We Going To Test?
For this example, I’ve put together a simple DateTime extension method for rounding up (or down) to the nearest hour. Given the use of “ticks” in order to determine the appropriate result, this adds enough complexity to make this unit of code perfect for being tested.
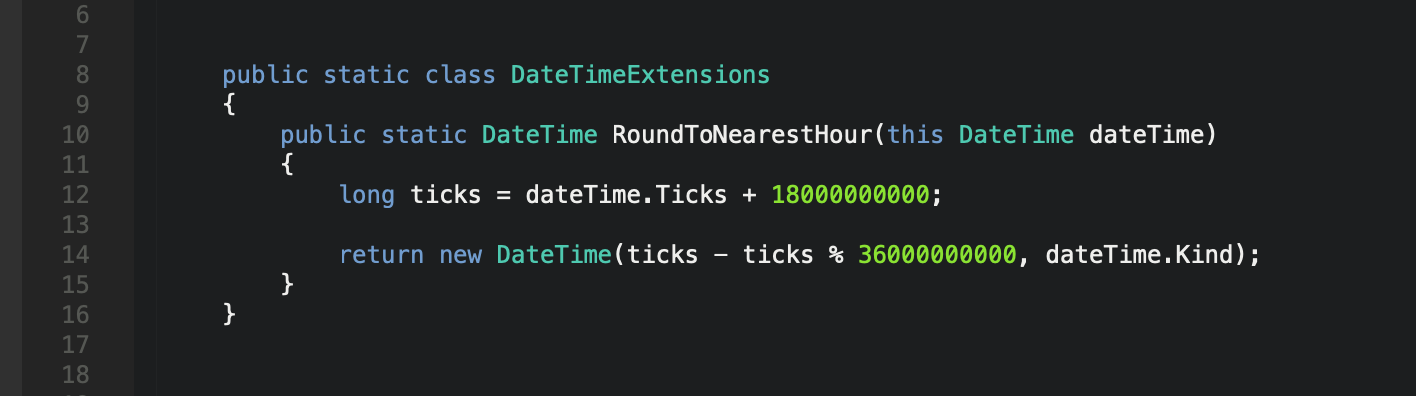
DateTime Extension Method
Configuring Visual Studio For Testing
We’re going to use the xUnit Framework to test this extension method. Fortunately, Visual Studio for Mac comes with an xUnit Test Project class library template built in, which we can add using the normal method for adding class libraries to an existing project -
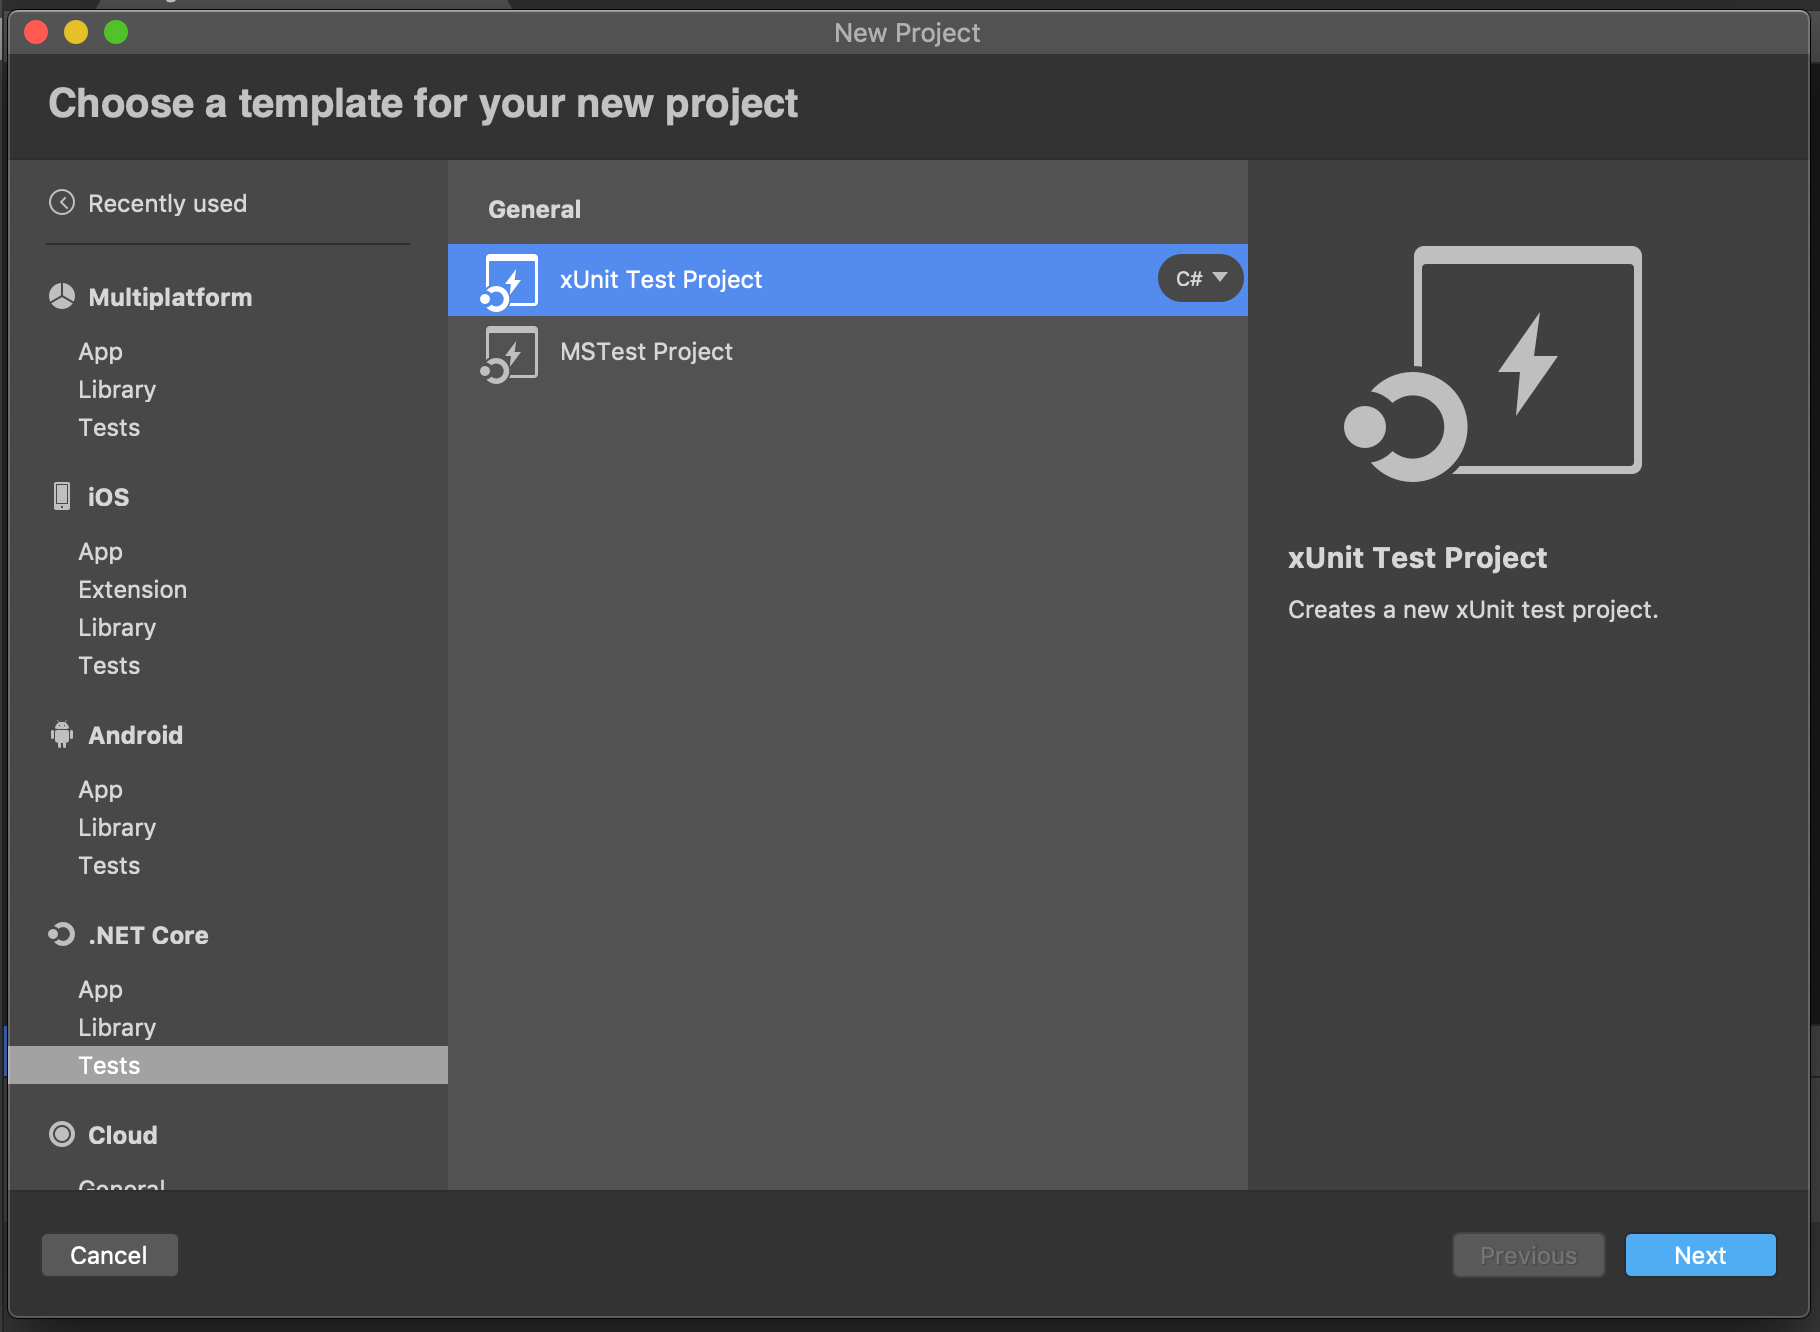
xUnit Test Project in Visual Studio for Mac
Once you’ve got your test project added to your solution, you’ll notice that by default the Nuget dependencies include both xUnit and the xUnit runner, along with the Microsoft Test SDK -
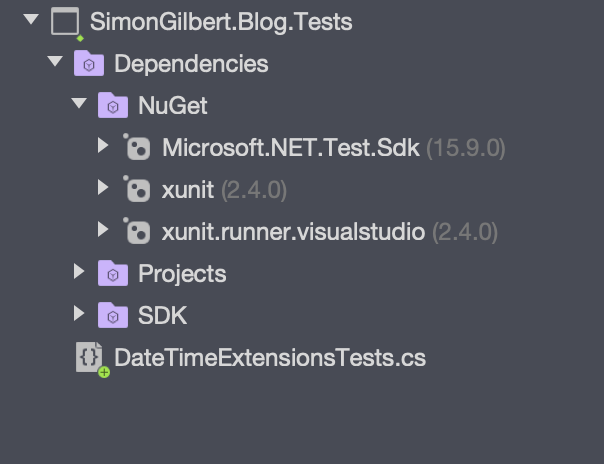
xUnit Test Project Dependencies
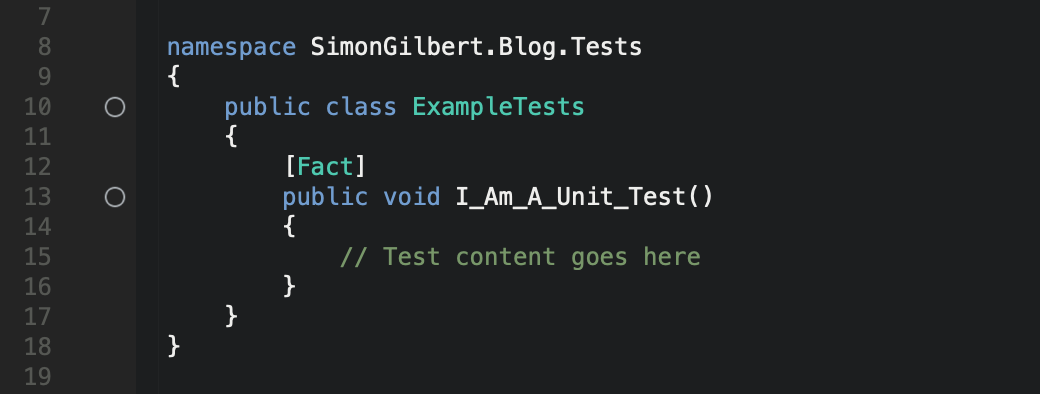
Writing An xUnit Test
Before we get started, I’ll explain how xUnit tests are written in their most basic form. First you define a normal public class definition, followed by a series of methods that contain the content for each of your unit tests.
The key thing to note here is that each method must be decorated with the [FACT] attribute (part of the xUnit Framework), in order to indicate that it is a fact and declare the test itself to the test runner console. Each test result is then validated using xUnit’s Assert class methods.
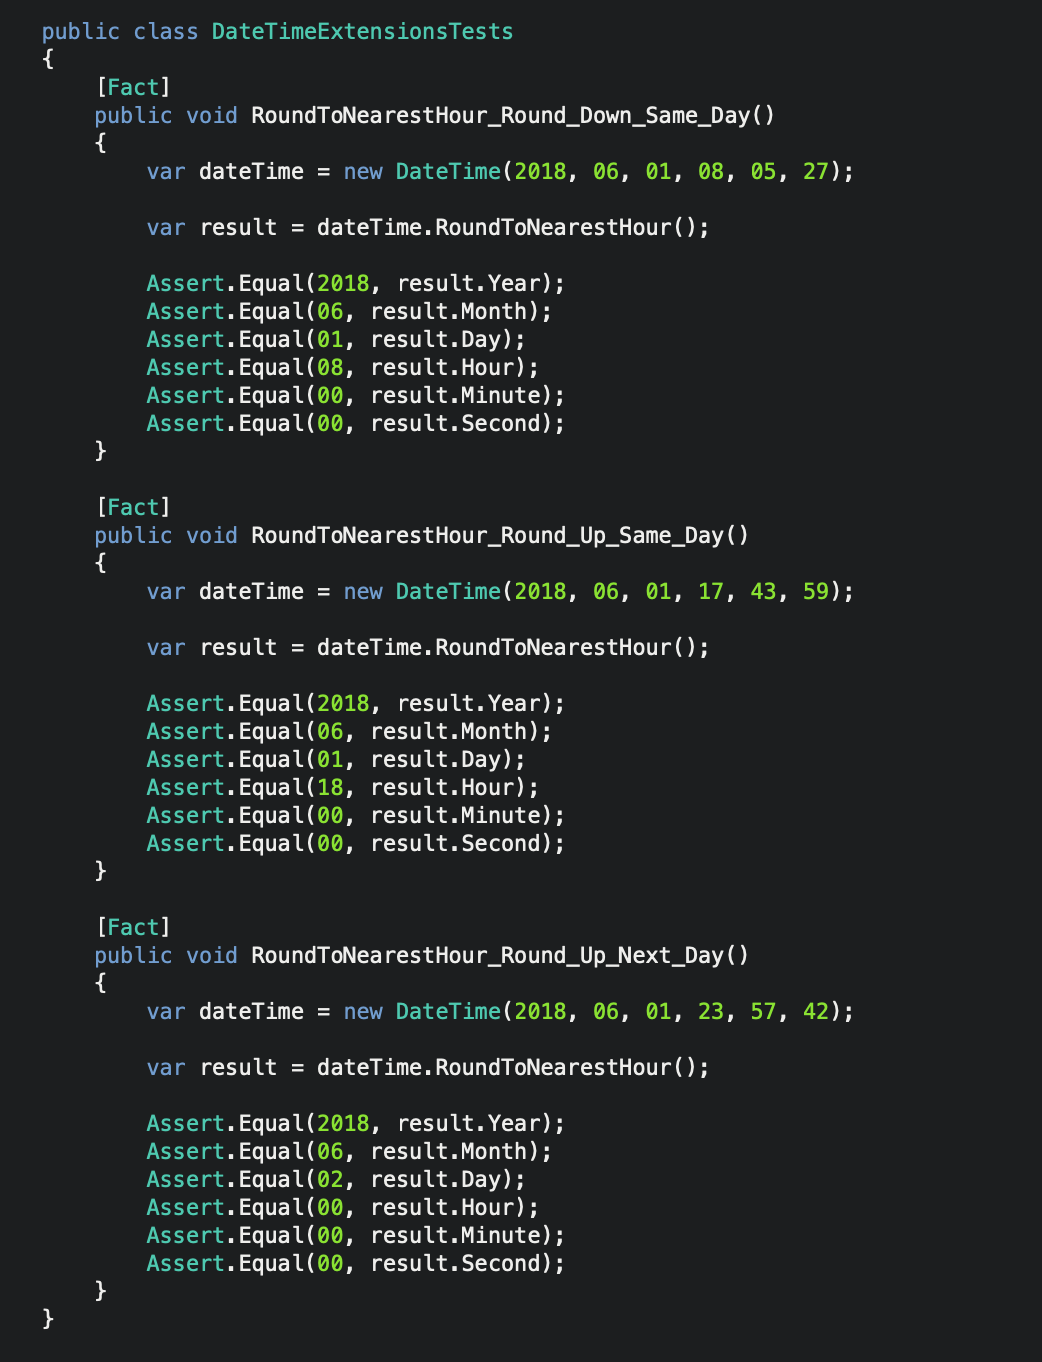
Unit Test Permutations
Ok, it’s time to start writing the tests. This is of course, the most important part of the process as it involves you analysing the various permutations through the method itself, and the range of possible results that can be output from this particular unit of work.
In this example, the potential outcomes are -
-
Round (down) to the nearest hour on the same day.
-
Round (up) to the nearest hour on the same day.
-
Round (up) to the nearest on the next day (midnight).
xUnit Test Permutations
As mentioned, you’ll note that each test result is verified as being correct using xUnit’s Assert class methods, which are designed to cover a wide range of validation approaches including both null and empty checks.
Running Our Unit Tests
Our unit tests are written and are ready to be run! The next step is to open the unit tests pad from the view menu (VIEW > PADS > UNIT TESTS), and click “Run All”. At this point you can see that all the tests are showing as passing successfully…
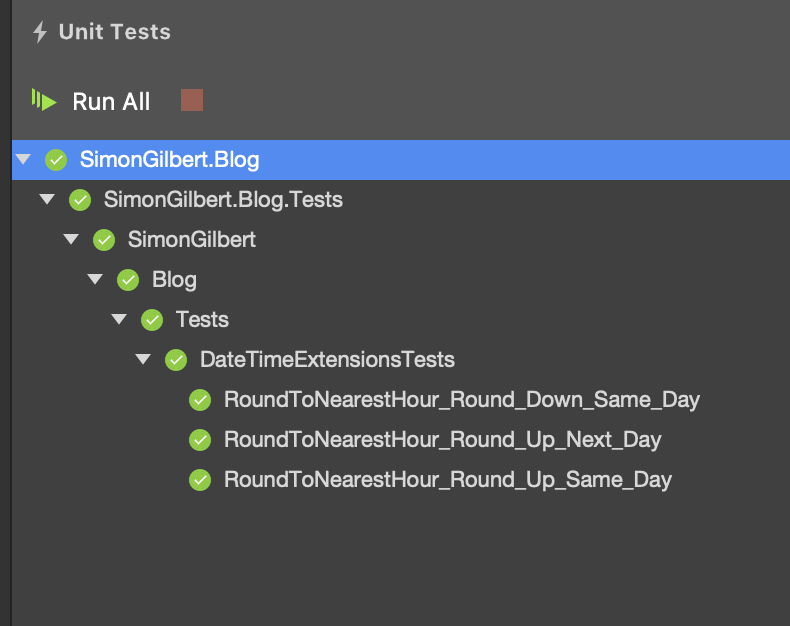
Visual Studio for Mac Unit Test Pad
Detailed Unit Test Results Pad
For a more detailed view of the test results, we can open the dedicated test results pad (VIEW > PADS > TEST RESULTS).
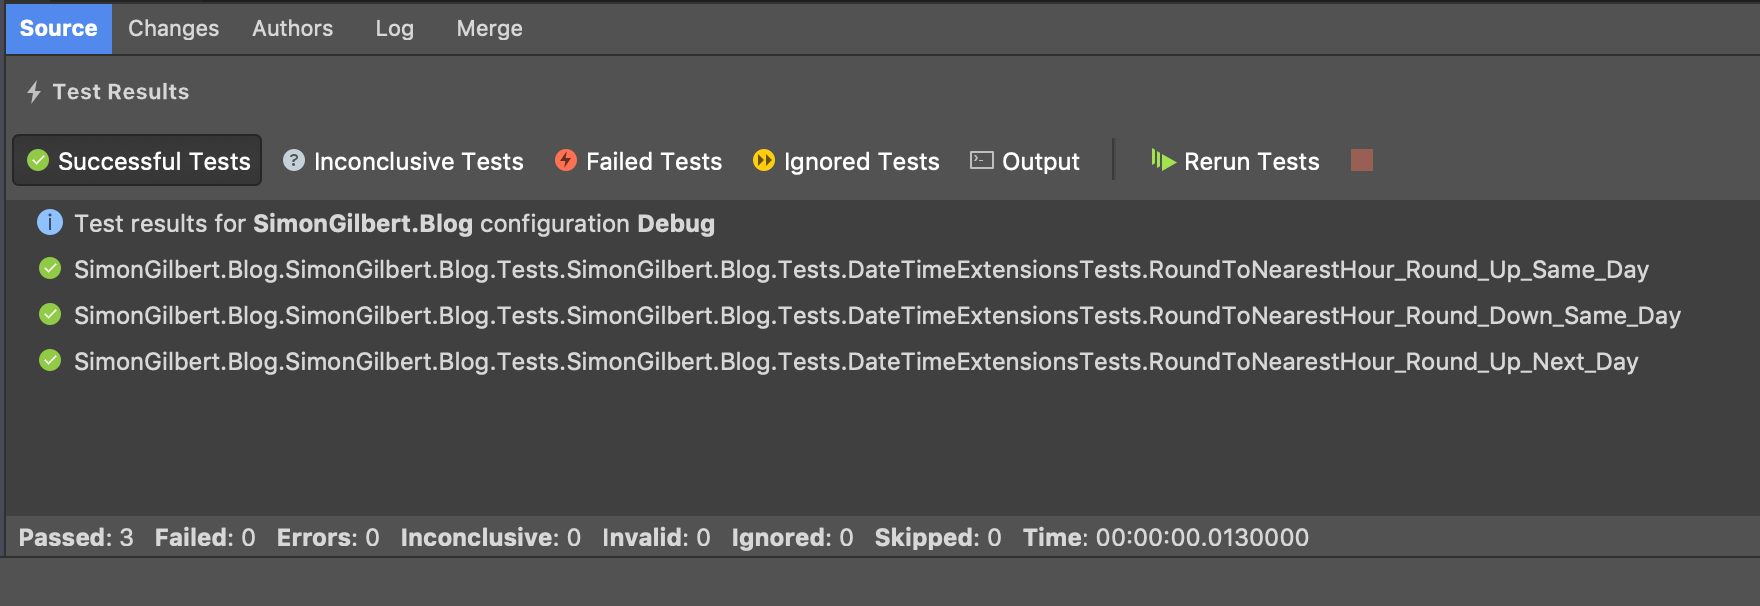
The great thing about this particular pad is that it uses dedicated tabs to separate the unit tests into different categories, so lets take a look at the benefit of that feature next…
Failed Tests
Throughout your time developing a piece of software you will see your tests fail, perhaps based on a recent feature amend or code refactor, and that’s exactly the point of unit testing - It helps you as a developer to hold down the fort whilst the software development lifecycle is picking up the pace under the pressure of the business requirements.
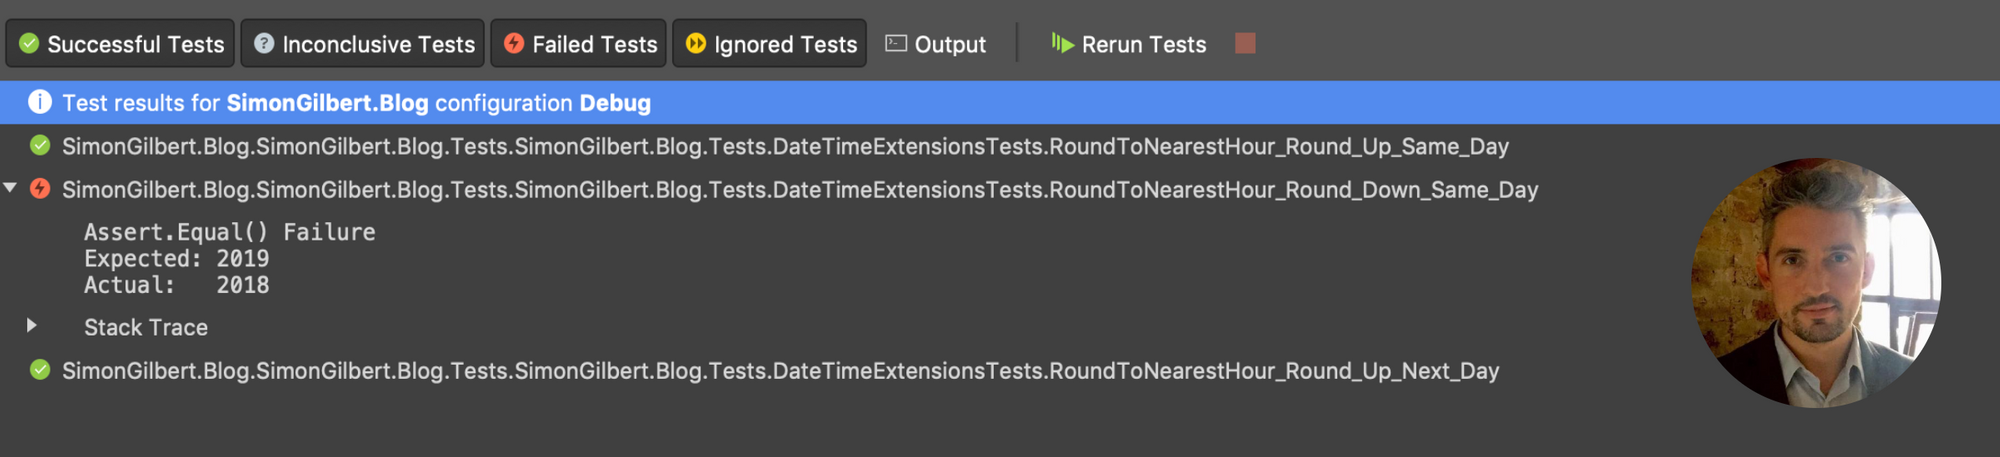
As an example, I’ve changed our first unit test to assert that the result equals the wrong year. Take a look at the feedback given to us now by the Visual Studio unit test runner -
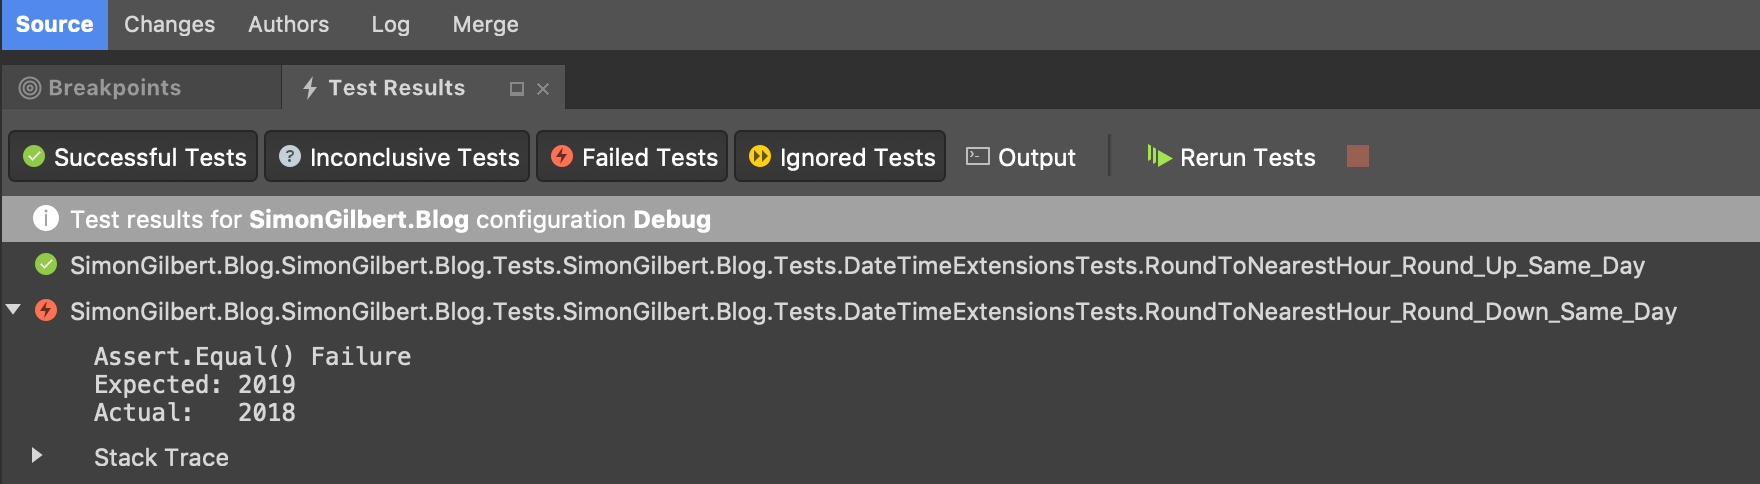
Visual Studio for Mac Unit Test Failed Result
Not only does it highlight the expected results vs. the actual result…It even prints out the Stack Trace too!
Enjoy!