Deploying C# Asp.Net Core to an Azure App Service via GitHub Actions using a deploy.yml File
GitHub Actions for Azure App Service Deployment
GitHub Actions provides a streamlined workflow for automating the deployment of ASP.NET Core applications to Azure App Service. By configuring workflows in the repository, developers can set up a seamless integration pipeline that triggers on code changes. With the proper setup, GitHub Actions can build, test, and deploy the ASP.NET Core application to Azure App Service, ensuring a consistent and efficient deployment process. This integration enhances collaboration and reduces manual intervention, enabling teams to focus on coding while maintaining a reliable deployment pipeline.
GitHub Actions Steps
Utilizing GitHub Actions for ASP.NET Core deployment to Azure App Service involves defining workflow steps in the repository’s YAML file. Key actions include setting up the build environment, running tests, and deploying the application to Azure. This automated approach not only accelerates the release cycle but also ensures the deployment process adheres to best practices. Developers benefit from version-controlled workflows, allowing them to easily manage and track changes in deployment configurations, fostering a more robust and maintainable deployment pipeline for ASP.NET Core applications on Azure App Service.
Next Steps
- Make a hidden folder in your repository root folder, and change into the directory:
mkdir .github
cd .github
- Following this, make a “workflows” folder inside the hidden folder you just created, and change into the directory:
mkdir workflows
cd workflows
- Now create a deploy.yml file:
touch deploy.yml
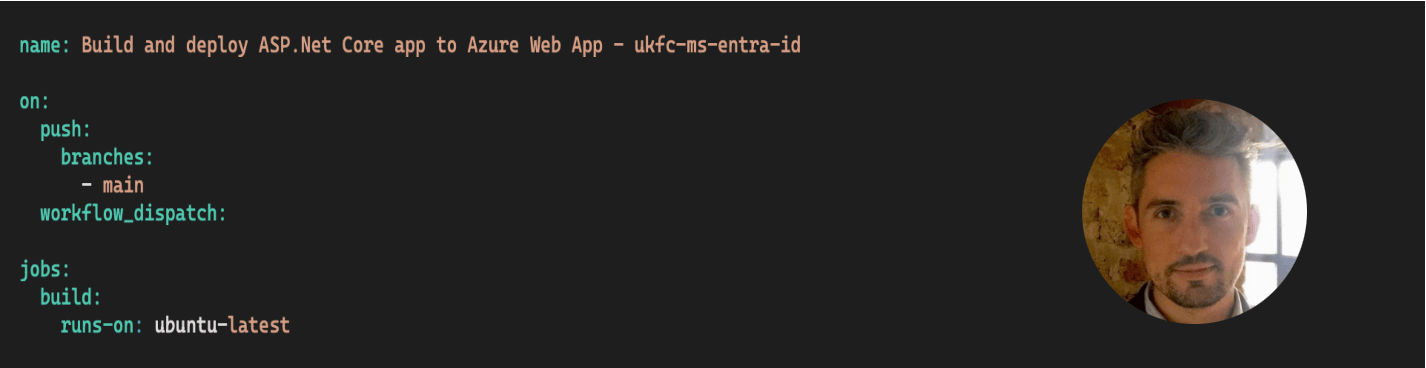
- Paste the following code into your deploy.yml file:
name: Build and deploy ASP.Net Core app to Azure Web App

on:
  push:
    branches:
      - main
  workflow_dispatch:

jobs:
  build:
    runs-on: ubuntu-latest

    steps:
      - uses: actions/checkout@v4

      - name: Set up .NET Core
        uses: actions/setup-dotnet@v1
        with:
          dotnet-version: '8.x'
          include-prerelease: true

      - name: Build with dotnet
        run: dotnet build --configuration Release

      - name: dotnet publish
        run: dotnet publish -c Release -o ${{env.DOTNET_ROOT}}/myapp

      - name: Upload artifact for deployment job
        uses: actions/upload-artifact@v3
        with:
          name: .net-app
          path: ${{env.DOTNET_ROOT}}/myapp

  deploy:
    runs-on: ubuntu-latest
    needs: build
    environment:
      name: 'Production'
      url: ${{ steps.deploy-to-webapp.outputs.webapp-url }}

    steps:
      - name: Download artifact from build job
        uses: actions/download-artifact@v3
        with:
          name: .net-app

      - name: Deploy to Azure Web App
        id: deploy-to-webapp
        uses: azure/webapps-deploy@v2
        with:
          app-name: 'simons-app-service-demo'
          slot-name: 'Production'
          publish-profile: ${{ secrets.AZUREAPPSERVICE_PUBLISHPROFILE }}
          package: .
- Next we need to go to the Microsoft Azure Portal, and download the publishing profile for our Azure App Service:

Azure Portal App Service Publishing Profile
- Now we need to go to the Secrets section of our repository, and setup a new secret, where we paste in the contents of our Azure App Service Publishing Profile, so that the deploy.yml file has access to it when building and deploying our App Service to Azure:

Azure Portal App Service Publishing Profile
- Now push the changes to GitHub, and your source code repository will magically build and deploy to your Azure App Service!
Enjoy!